How to Add Fade In/Out Effect on inshot

In this article, I will explain how to add fade in/out Effect on inshot while editing your video. Adding a fade effect to your video is a great way to give it a professional look and feel. Fade effects can be used to make your video look more polished, or to transitions between scenes.
To start, you want to import a video; For import, click on tap Video, and to choose the clip, tap on the Check mark ✔️ to add the fade effect, click the Effect button on the toolbar.

These are all available Effects inside in InShot.

Tap on the fade, and the first two effects will be available for choosing in the free version, and the other three require you to upgrade for the InShot premium version, but we prefer the free one,

To add the Effect, check tap on it. You can also adjust the duration for increasing or decreasing the fading value.
Click this bar to change its duration.

For add fade in/out effect, you can see two little diamonds on your toolbar,
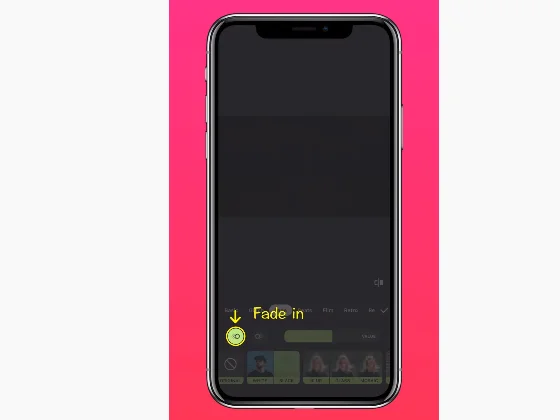
But if you want to fade out, click on “Fade out” and check on the mark
How to apply fade Effect in the middle of video
You can add this fades effect in the middle of your video by using the split button. You should click on “Split” in your main menu and check on two places; for example, If you want to split at 1:30 secs, then drag the button and place it at 1:30. After that, you can see two pieces of video are available.
Now select both parts and follow the same method which I have used for a single video.

After you have completed each of the overhead steps, the effect will be applied., Play Your video from the beginning fade effect will be spread on your video.
Tutorial For adding fade in/out on Video
This video will show you how to quickly fade in and out your videos using the inshot editor.


