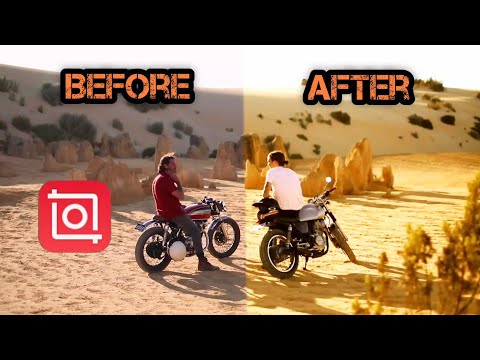
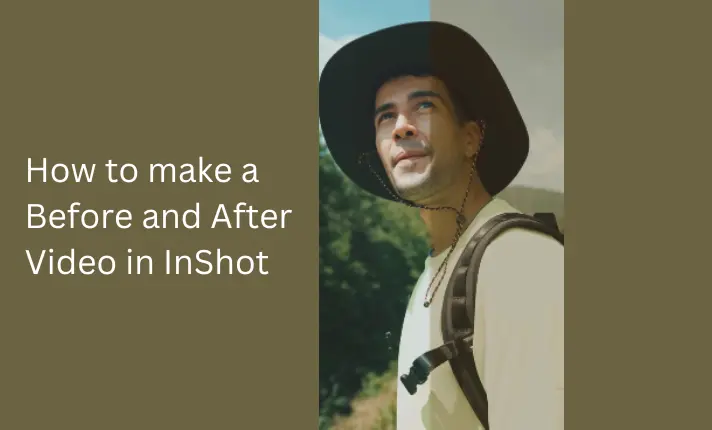
How to make a before and after video in InShot
Here, I am telling you how to make a before and after video in InShot Video editor. First of all, you need to record two different videos on your mobile. One is for the before scene, and the other is for the after scene.
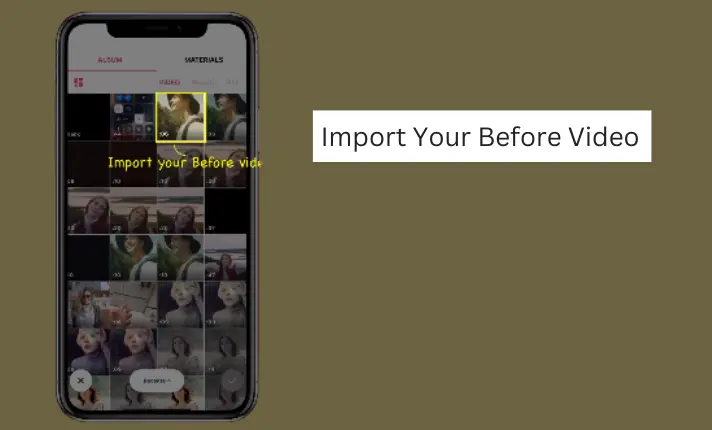
To start editing go to the first step which is to import before video into the InShot app.

Now click on the PIP icon on the InShot timeline and add the after video on it.
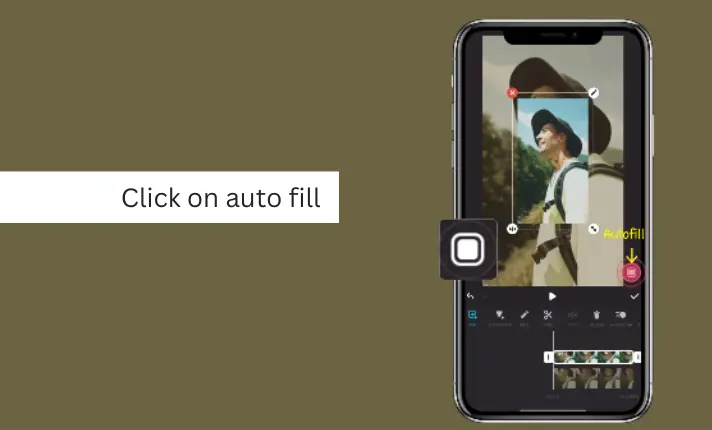
Here on PiP you can see the “Full fit” icon it is used to fit the video on the screen. Click on it from the bottom right of the video screen.
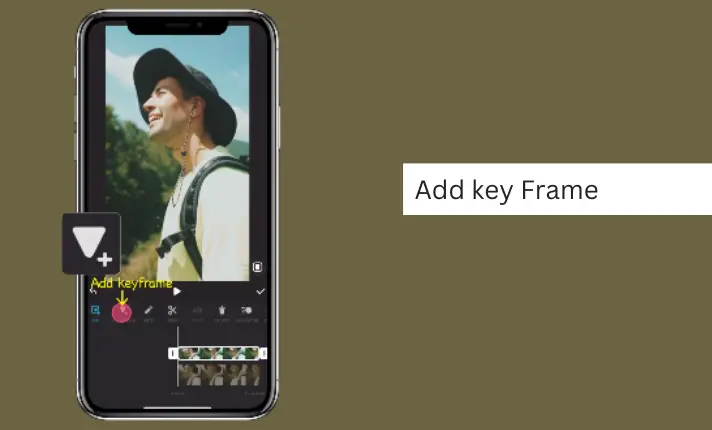
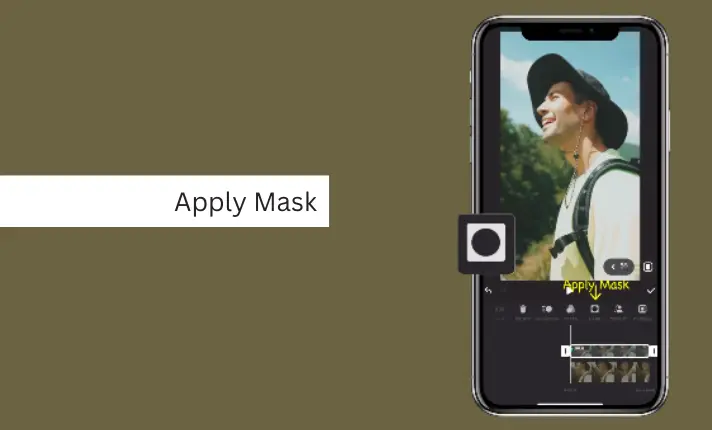
After that click on the Add key frame icon and apply the linear mask. It is used to rotate and set position for before and after your video.
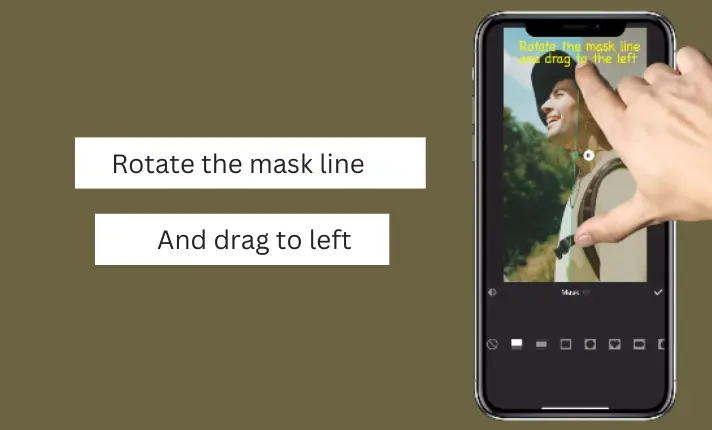
After applying, Rotate the mask and drag it where you want to set its position.
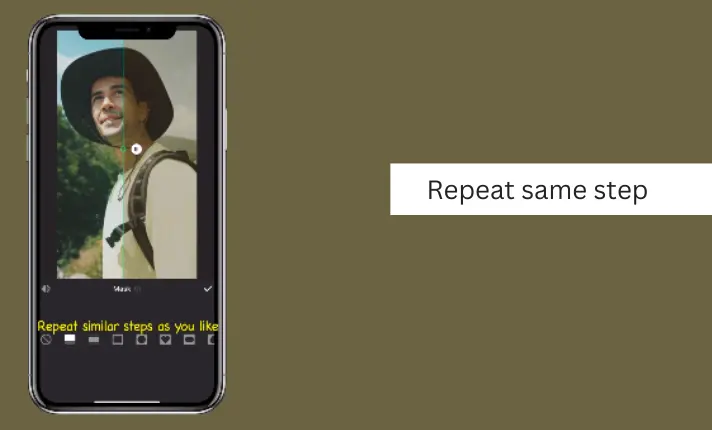
Return to the timeline and repeat the process as many times as necessary until you achieve the desired effect. After completing these steps, your before and after video vibes are ready.
Make a before and after video in InShot Tutorial