How to Add Blur Face in InShot

To add blur face properly, you need to use an effect. You can do this by doing picture-in-picture tools in InShot; there is no way to apply an effect to a clip, so the first thing you must do is add an effect to your primary video; once the Effect adds to the primary video,You can export central clip and use it inside the picture,
For adding main blur video you need to add a new project lets start to tap on filter then select, Effect on style And choose blur effect, but most are in the paid version. So if you have a free version, you can choose the Mosaic effect.
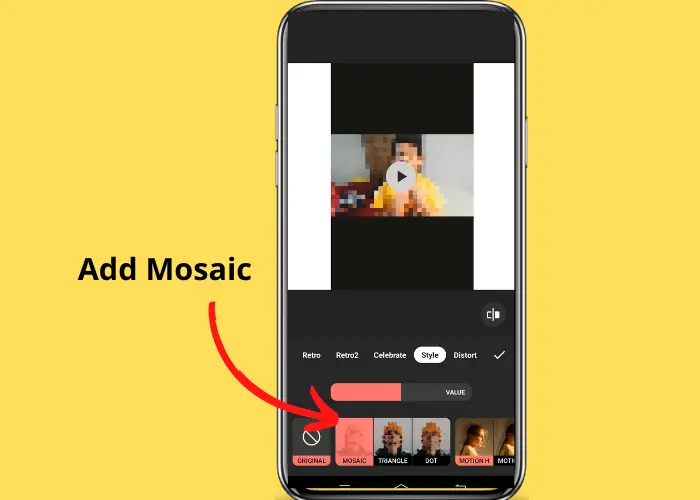
Once you tap on it, you can see the blur effect applied to the main video, but don’t forget to apply the blue check above the video. For that, tap on the bar and select “Mosaic” for the entire video.
After doing that save the video, when you have saved the main video,
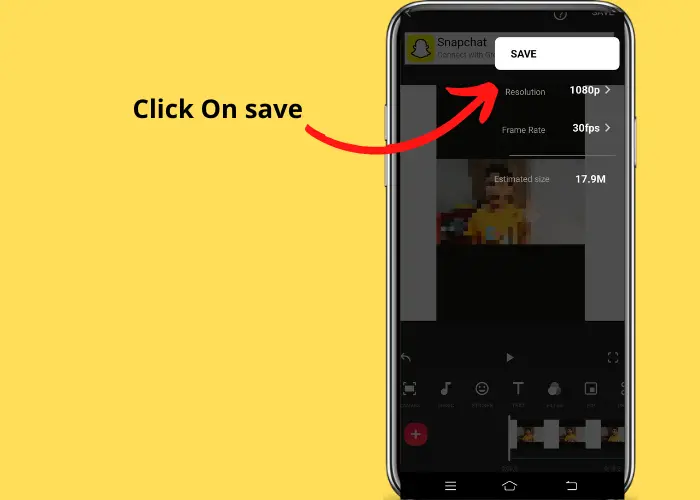
Please open a new InShot project and add your main project in its original form; remember, the new project should be the same as the previous project. Now go on Picture in Picture,
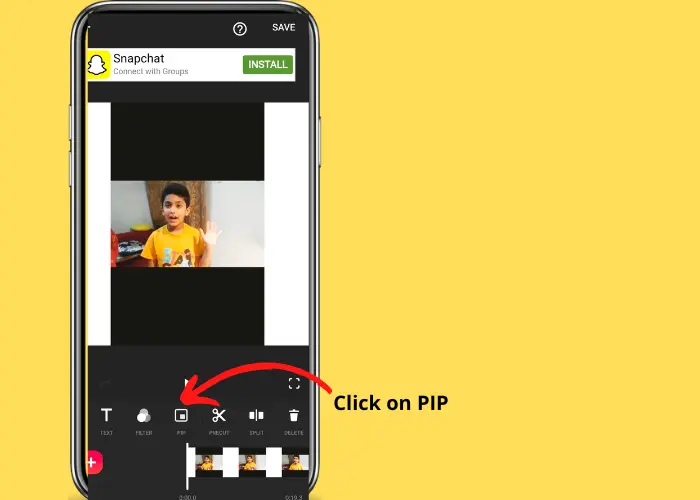
click on the tab and select your blur clip
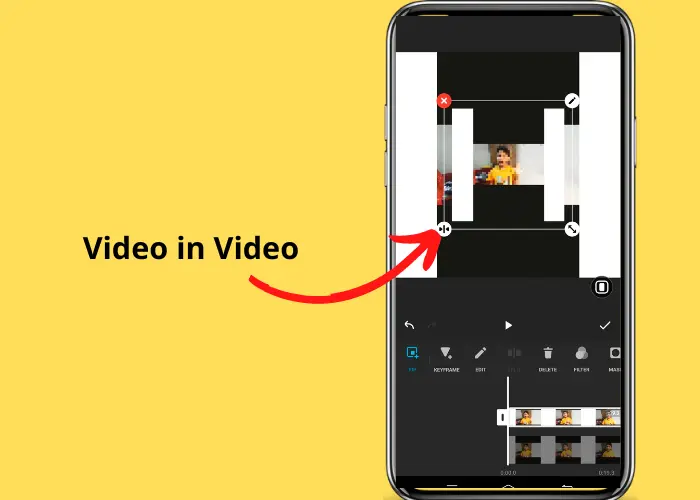
Once it appears on the primary clip, resize it so that Mosaic covers the entire screen; the next step is to blur on the face.
Make sure both clips are in the same size and same length. Next, you need to apply a mask.
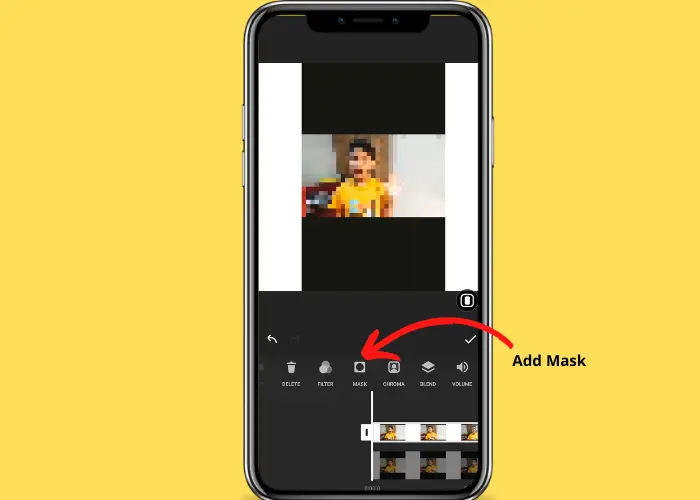
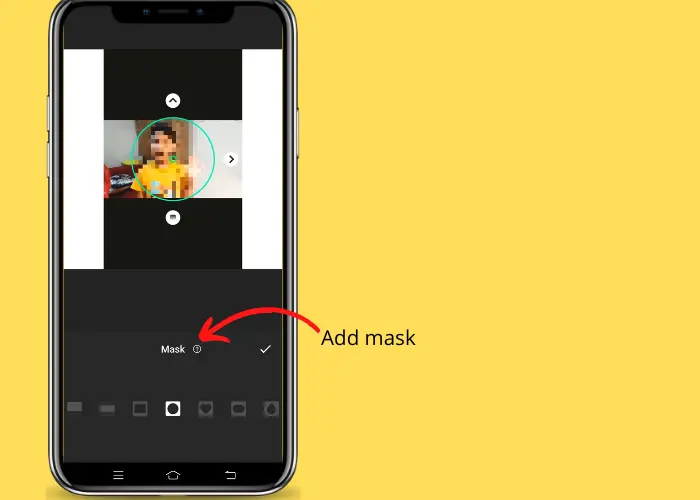
You can see different sizes of Masks and select anyone according to your face size. When you apply, you can see a mask widget; this will allow you to select the area of the video in which you want to mask or blur out the face.
As before, you must cover the bar on the entire video length.
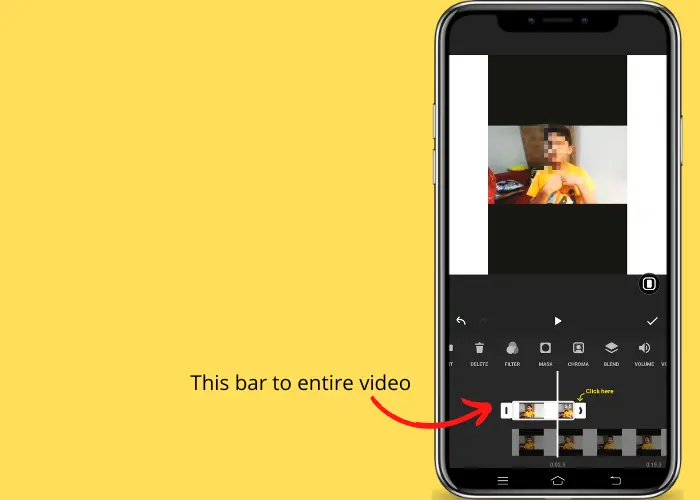
After that, Inshot Blur is visible on your face.
How to add blur face in InShot
If you don’t understand the whole procedure just follow this video.
FAQs
Bottom Lines
We have fully explained to you at the top of the post how to add a face blur instead of the entire video using the in-shot editor. In the comment box below, please feel free to ask any questions you may have.

